3. Encrypting Text by: saaiqSASLast Updated: 18/2/2025
In this section, we will guide you through the process of encrypting text using the ROS Encryption Tool.
You can either generate a new key or choose an existing one to secure your data.
Setup KeyGenerate Key
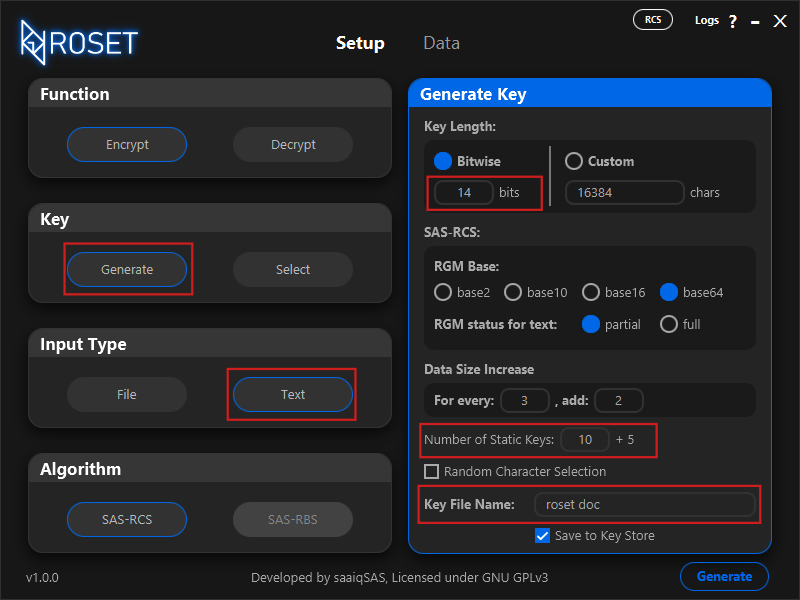
To generate a new key, simply select the Generate option in the Key section. From there, you can adjust the settings in the Generate Key area to fit your needs.
For a quick and simple key, we recommend using a key length between 10 and 16 and selecting the Bitwise option (with a range of 7 to 20). You can also customize the
Number of Static Keys (with a maximum of 100). The default settings for the other options should work for most cases.
After customizing your key, enter a Key File Name and click the Generate button. Now, as you are going to encrypt text
you should select the Text option under the Input Type section. (Fig3.1)
If you'd like to dive deeper into the options and understand how they affect encryption, check out the
Generating Keys section for more details.
Fig.3.1Select Key
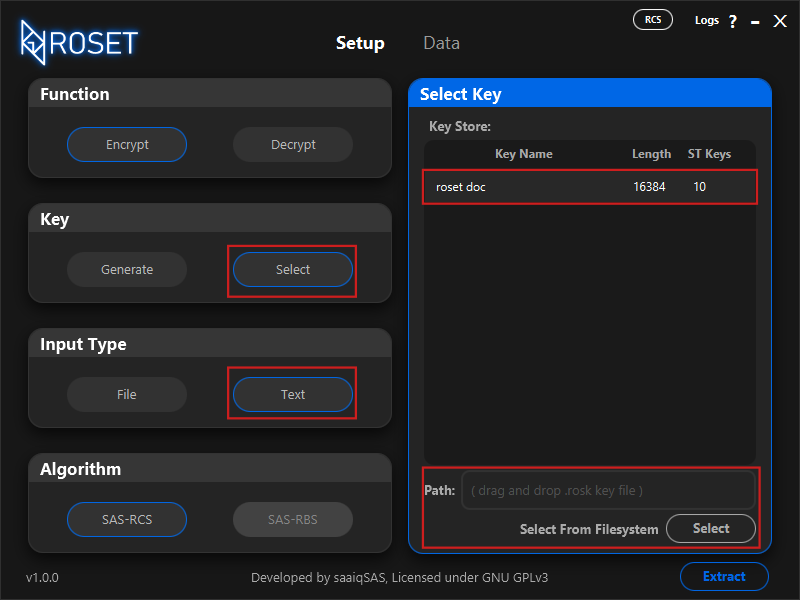
If you'd like to use a previously generated key, you can select it either from the Key Store or from your file system. To do so, click the Select option under the Key section.
In the Select Key area, you can choose your key from the Key Store or browse your file system by clicking the Select button.
Alternatively, you can drag and drop the key file directly into the Path field. Now, as you are going to encrypt text
you should select the Text option under the Input Type section. (Fig3.2)
Fig.3.2Encrypt Text
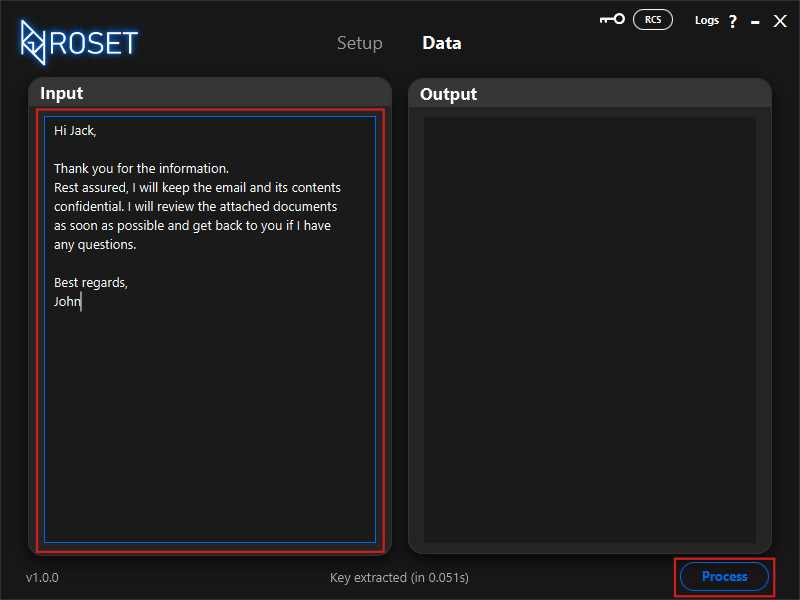
After clicking the Generate or Select button, the key will be loaded into memory, and you will be automatically redirected to the Data tab.
In the Input section, enter the text you wish to encrypt, then click the Process button to begin. (Fig3.3)
Fig.3.3
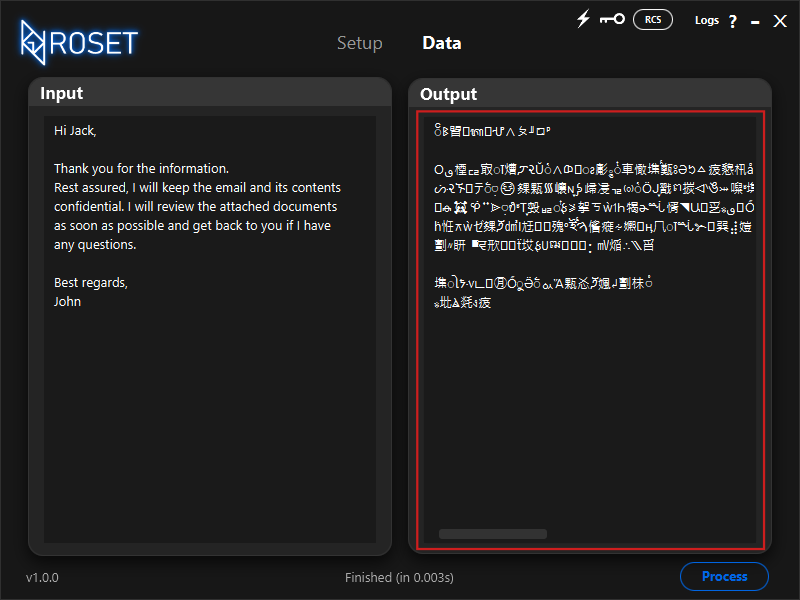
Once you click the Process button, the encrypted text will appear in the Output section. (Fig3.4)
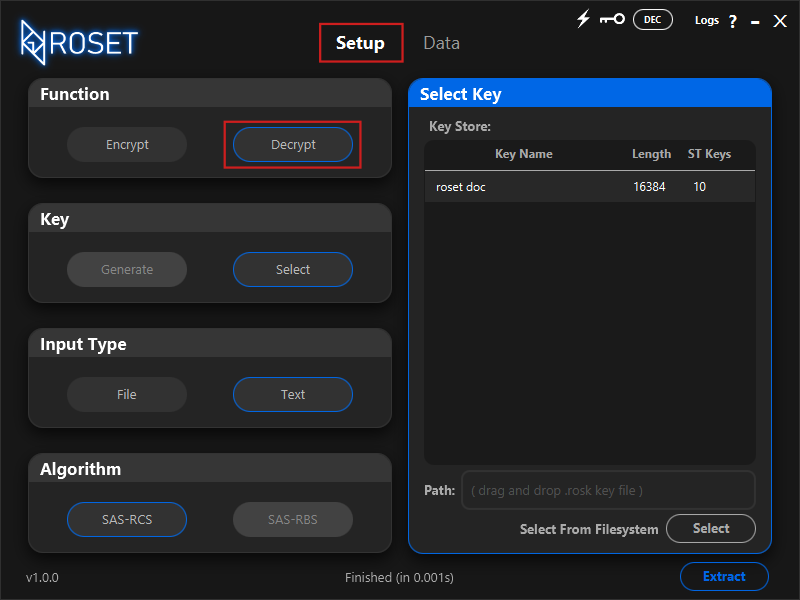
Fig.3.4Decrypt Check
It's important to verify that the encrypted text can be properly decrypted. To do this quickly, go to the Setup tab and select Decrypt under the Function section. (Fig3.5)
Fig.3.5
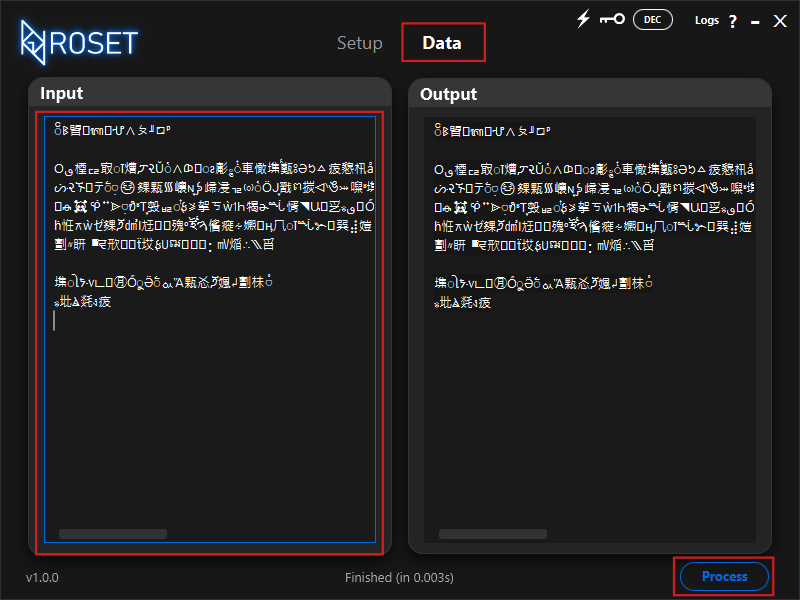
After that, return to the Data tab, paste the encrypted text into the Input section, and click the Process button. (Fig3.6)
Fig.3.6
Once you receive the decrypted output, review the text and compare it to the original to ensure they match. If no errors are visible, you can use the encrypted text along with the key for your needs. (Fig3.7)
Fig.3.7
If an error is detected, try using a different key. If the issue persists, please report the bug using the links at the bottom of the main page of the official documentation for the ROS Encryption Tool.